Project "clothing space"
Since yesterday I am the proud owner of a new build-it-yourself closet. And yes, it was a hell of a big project. Because before you get to construct the new one, you have to demolish the former ones. I had two, white, standard closets. They came with the house. So they were really up for replacement.
 |
| To give you an idea what my former situation was. |
 The project started with selecting and buying a new closet. I had seen one on the internet I really liked so I went to the store with my parents to check it out. After about ten minutes we figured that the one I picked was the choice, so we decided to buy it. (Well, actually my parents bought it as I am getting the closet as an early birthday present :) )
First project problem: How were we going to fitt the three large heavy(!!) parcels into the car + fit ourselfs in? Well it happens to be that my dad is a real man's-man. His 'spacial awareness' is above average and he was able to fit us all into the car!
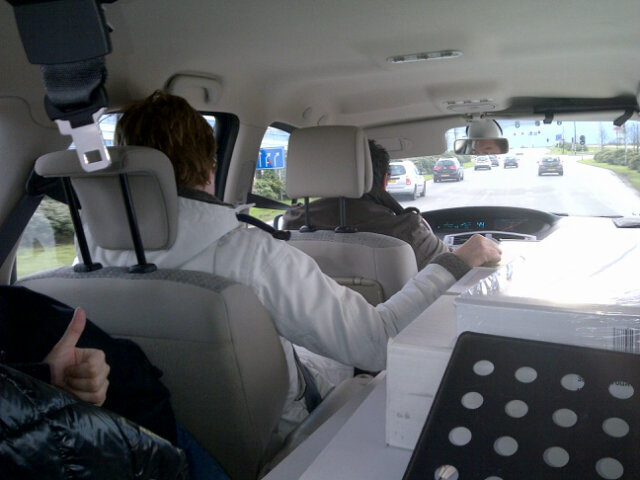 |
| The way home, could have been more comfortable though.. |
We got home safely and after unloading the stuff I faced the next
problem: cleaning out my old closets.. I found out that I own a lot of
stuff, seriously, I could begin my own shop.
I had two closets, and a load of stuff piled on top of them so it was a nice err, 'challenge' to clean them out. As pictures can explain more than words...

 |
| Not only was there stuff on the bed, also under and next to.. |
 |
| My boyfriend helped out, also my little nephew really wanted to help us 'build'. |
 |
| Where the closets used to be, now an empty space.. |
 |
| Not even half way.. The bottom is at the left and the top is at the right.. |
Then we faced the next problem: the guide wanted us to build the entire closet flat on the ground. The whole 180 x 206 cm.. Which ofcourse wouldn't fit on my bedroomfloor. So we had to come up with a solution, as you can see on the photo on the left we did come up with a solution. A rather good one, we decided to build it sideways and turn it later on. With some extra muscles provided by my parents we managed to get the closet in the right place with the right side up.

You might notice that the next time leap is a rather big one, please understand that I can't make photos while supporting the whole d*mn closet and constructing the doorpanels while puzzling on the floor.. ;)
All in all, here's the result! -->
And I have to say I'm really pleased with it. It turned out exactly the way I wanted it to and there was still room to fit my shoe cabin next to the closet! :)
All in all, here's the result! -->
And I have to say I'm really pleased with it. It turned out exactly the way I wanted it to and there was still room to fit my shoe cabin next to the closet! :)
Geen opmerkingen:
Een reactie posten